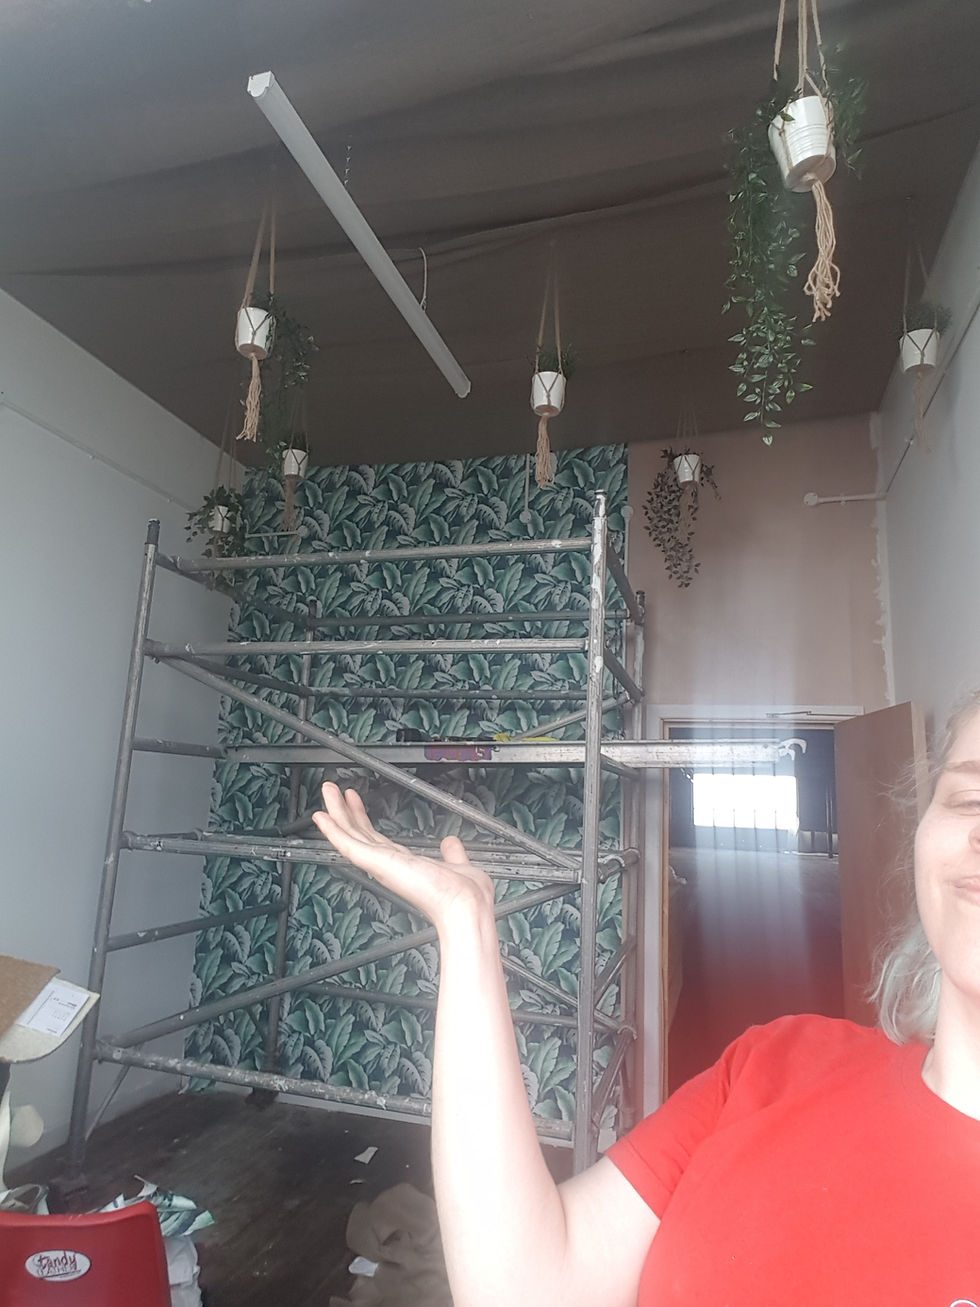
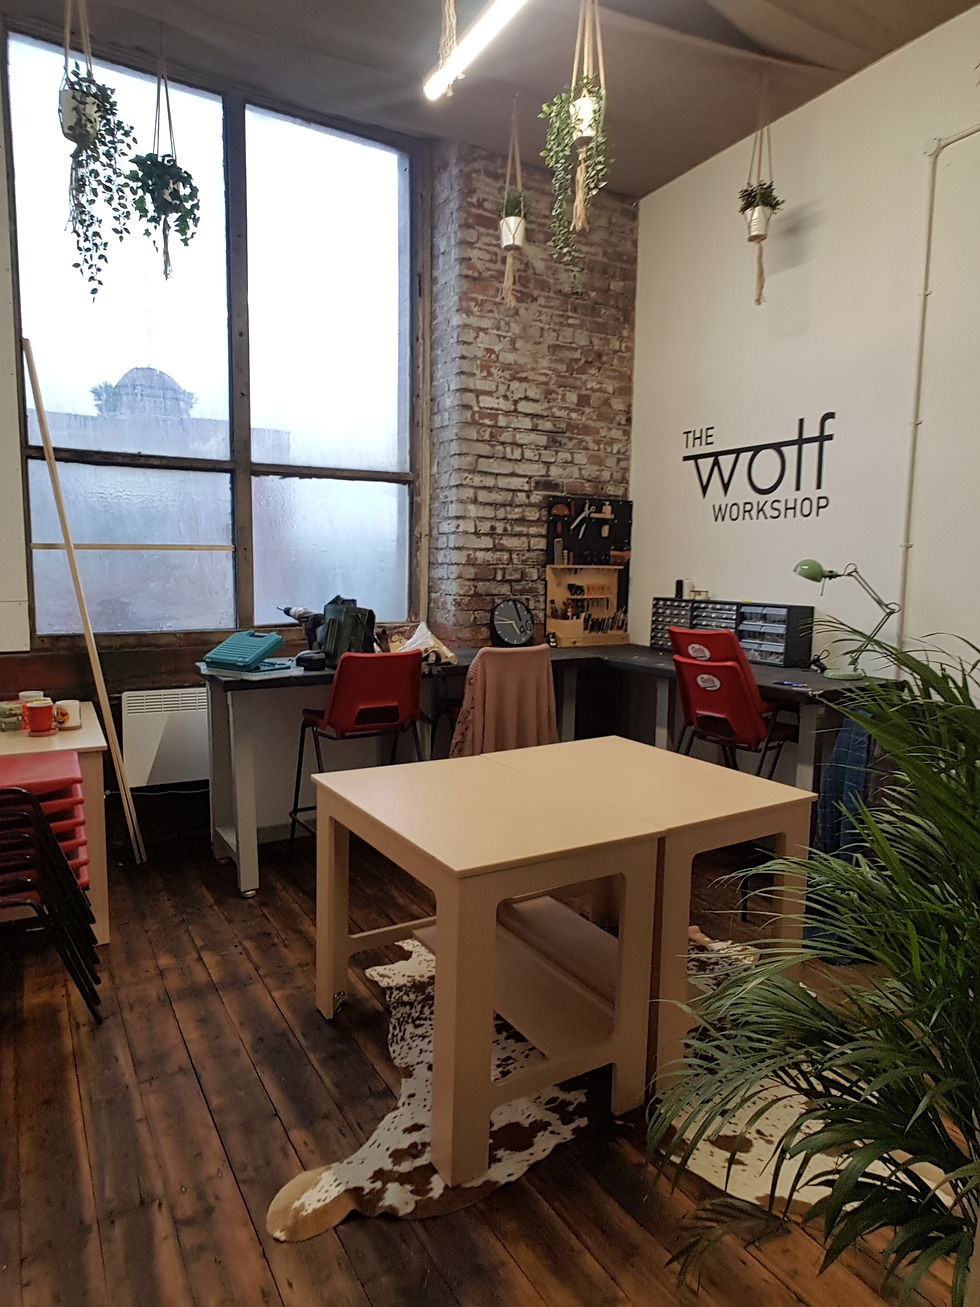
The studio creation was a labour of love. There is still some small bits of work to be done, but the whole build probably took around a month of work. We were pulling long shifts and late night sanding work. Also whilst juggling admin, marketing and every other job role possible, but I've never had biceps like it!
Here is a little look into how the studio started and how it was built.

The Wolf Workshop is based inside the wonderful and historic Leigh Spinners Mill. This fantastic building is full of heritage and other amazing makers who are all incredibly supportive of one another. From music studios to escape rooms to a hack space, this place has it all.
The studio is situated on the fourth floor of the mill amongst six other artists all part of the Creative Spin group. If you want to see more of the collective, you can check out the Facebook Page.

In the early days before Creative Spin was born, the floor was home to 7 studios. Project Inc who had already moved in, and five smaller spaces. We took on the empty shell in March 2019. A room with nothing more than four walls and a radiator. The other artists slowly joined and the space became more populated whilst development of the floor waited.
On June 1st after my employment with Tandy Leather UK had ended, I was officially self employed. I had spent some of May moving items of furniture and equipment into the studio. Unfortunately there were numerous unforeseen issues with the space due to the history of the mill. The building was over a hundred years old and the developments were giving it some much needed TLC, be it slowly.
Each studio on Floor 4 was tasked with their own renovations, each having a different take or ideas on how it should look or how problems should be tackled. I quickly found that I had gained the worst ceiling of all the studios, with large pieces crumbling away. The brickwork needed scrubbing and sealing and the hundred years of grime, dirt and machine oil built up across the floor needed removing somehow.


Over June, the work on the Studio was slow. There was a lot of paperwork, marketing and other important things to process during this time which gave a perfect outlet for procrastination from DIY. The job of the studio just seemed such an enormous undertaking I feared that I'd bitten off more than I could chew. I enlisted the help of my Mum, who helped to move work along.
The ceiling was the biggest issue. With the mill being a Grade 2 listed building, we had to be careful what was done to the structure of floor 4. Whilst we tried to figure out what to do, we began work on scrubbing away as much of the dirt and debris as we could. The brickwork was probably the worst job, in the initial stages during the summer months, the room became unbearable after a few hours of work. The heat, dust and lack of ventilation meant we were working in short bursts as often as we could.

July hit, and once the brickwork was scrubbed and sealed, and the ceiling had all the loose debris removed, full swing began. However we still hit bumps and problems.
Firstly, the room was 12ft tall meaning we were using the last rung of the ladder to reach the highest points. Secondly, we still hadn't quite figured out what to do with the ceiling. Lastly, the room was a building site but the floor was active with tenants, meaning that all the furniture and work benches had to be moved in and out each day. We could only work in sections of the room for all the tools, hardware and various paints and chemicals we had. Not to mention the various decorative items now being collected and stored.


Once the space was workable, I had a few visitors to see the space. My Grandma was one of these people who suggested the idea of covering the ceiling with fabric. This idea completely saved the studio build. With the walls painted and 20 meters of hessian fabric on the way, I began to create ideas. The ceilings were extremely high, and I had been toying with the idea of macrame planters to fill the unused roof space and reduce the sparseness of the room. We then built a faux drop ceiling and drilled hooks into the solid areas of the roof where the planters would hang. The fabric was then pulled across and attached into position.
Having done the ceiling, painting and wallpapering. I have now become an official master of scaffolding climbing. I am unsure if there is an official certificate for this yet but I definitely deserve one, it was bordering on acrobatic at points!

Last to tackle was the floor. Now one of my main reasons for writing this blog is not only to show how much blood, sweat and tears went into this build, but also to help anyone in this same situation.
I spent hours researching a lot on how we would convert the space with very little reward. It seems that there isn't much information on this exact topic, the floor mainly. I was told by possibly everyone I met at the mill that restoring the floor would be impossible and my best choice was to cover it, however I was determined to use the beauty of the mill rather than cover it up.
Firstly, we covered the floor with sawdust. I suggested this idea to my mum whilst she was in Tesco and around 6 minutes later she had acquired about 70kg of Sawdust. I'm still not sure how.
The sawdust was coated all over the floor about 1cm thick and left overnight. This soaked up huge amounts of oil which was then hoovered up. This process was repeated around three times before the next steps began.
Once the excess oil was removed, it was time to begin cleaning and scraping. Using turpentine, huge layers of grime and oil were removed from the surface of the wood. The floor in total took around a week to clean to a point where the woodgrain was visible, my arms have also never been so tired before. At this point, we decided to sand the floor. Any attempts to sand the floor before cleaning it would just eat sandpaper, dissolving everything with the black tar like substance. The whole floor took around two days to sand using an industrial floor sander that we had hired. Finally, another round of cleaning was done before finishing with floor oil to seal the wood.

A layout of the room was also made so that I could plan the space out as well as I could. The layout was shifted slightly to accommodate more room for my new leather barrel, but it worked perfectly! We then could go about buying shelving units and any more furniture that would be required.

Once the layout was fixed, it was time for finishing touches. The tool racks and equipment were all unboxed, being put away in their new homes. The leather was brought in and the vinyl logo was applied to the wall. The final result was starting to come together and be ready for our first class only a few days later.


The before and after of the studio shows how much of an undertaking this project was. The original vision I had to create a fun, new and inviting space to welcome leatherworkers and hobbiests finally became real. I wanted to produce a studio that would inspire people and feel comfortable to be creative in whilst also having a strong brand identity.
I still have a few more fantastic ideas for this space, but first I really should find some time to paint those skirting boards!

Comentarios